Most homeowners don’t replace a patio because they want to. They replace it because they’ve been filling the same crack for three summers in a row and they’re tired of pretending it’s going to hold.
Here’s the direct answer: if your patio has more than one of the following: spreading cracks, standing water after rain, loose or rocking pavers, or a step that shifts under your foot, you’re looking at replacement, not repair. A single small crack or a stain is cosmetic. Two or more of those issues together almost always point to a failed base underneath the surface, and no amount of resealing or patching fixes a base that’s already given out. The rest of this guide walks through how to confirm it, what it costs in this region, and what to do next.
Key Takeaways
- One crack or stain is cosmetic; two or more issues together (cracking + drainage + loose pavers) usually mean the base has failed
- Chester County’s freeze-thaw winters are the #1 reason patios here fail faster than the national average lifespan
- A paver patio typically runs $12–$30 per square foot installed in 2026; concrete runs $4–$22 per square foot, per current industry cost data
- Replacing a failed base properly is what makes the new patio last. Skipping this step is the most common mistake in DIY and budget replacements
- Timing your project in the shoulder season (early spring or fall) gets you on a contractor’s schedule faster than a summer call
Every Patio Fails the Same Way Around Here: It’s the Ground, Not the Surface
We’ve stood on hundreds of patios across West Chester, Malvern, and Chadds Ford where the homeowner pointed at a crack like it was the whole problem. Almost every time, the crack is a symptom. The actual problem is six inches below it.
Chester County sits in a region that goes through dozens of freeze-thaw cycles every winter. Water gets into the smallest gap in a paver joint or a concrete control joint, freezes, expands, and pushes the material apart, then thaws, and does it again the next cold snap. A patio built on a shallow or poorly compacted base doesn’t have anywhere for that movement to go, so it shows up as cracking, heaving, or pavers that rock when you step on them. This is genuinely one of the harder climates in the country for outdoor hardscaping to hold up in, and it’s a big part of why patios here often show real wear well before the 15–25 year lifespan you’ll see quoted in national guides.
That’s not meant to be discouraging. It’s meant to explain why the fix matters more than the surface material you pick.
What the Data Actually Says About Patio Lifespan and Cost
A few numbers worth knowing before you get quotes:
Current 2026 cost guides put paver patio installation at roughly $12 to $30 per square foot installed, and concrete patios at $4 to $22 per square foot, with the spread driven mainly by finish, site prep, and drainage work rather than the base material alone. A typical 200-square-foot patio in pavers lands somewhere between $3,000 and $7,000 installed; a similarly sized concrete patio runs lower, often $1,500 to $4,500, before decorative finishes.
Site preparation, removing the old patio, correcting grade, and rebuilding the base, is usually where a quote’s biggest swing comes from, and it’s also the part that’s easiest to underestimate if you’re comparing bids on price alone. A contractor quoting $2,000 less than everyone else is almost never using better materials. They’re usually skipping base work you won’t see until year two.
Drainage is the other number that matters and rarely gets talked about. Pooling water after rain isn’t just an inconvenience. It’s actively undermining the base every time it happens, and it’s one of the fastest ways a patio goes from “needs a repair” to “needs a full rebuild.”
Our Take: Replace the Base First, Then Pick the Pretty Part
Here’s where we differ from a lot of the generic advice floating around: most patio content leads with material choice, pavers versus concrete versus natural stone, like that’s the decision that matters most. It isn’t, not in this climate.
We treat every replacement as two separate decisions made in the right order: first, what does the base and drainage plan need to be so this doesn’t fail again in five years, and second, what material and layout do you actually want to look at. Skip step one and it doesn’t matter how nice the pavers are. You’re just buying yourself the same crack, a few years further out. Get step one right, and the material choice becomes the fun part of the project instead of the anxious one.
What This Looks Like in Practice
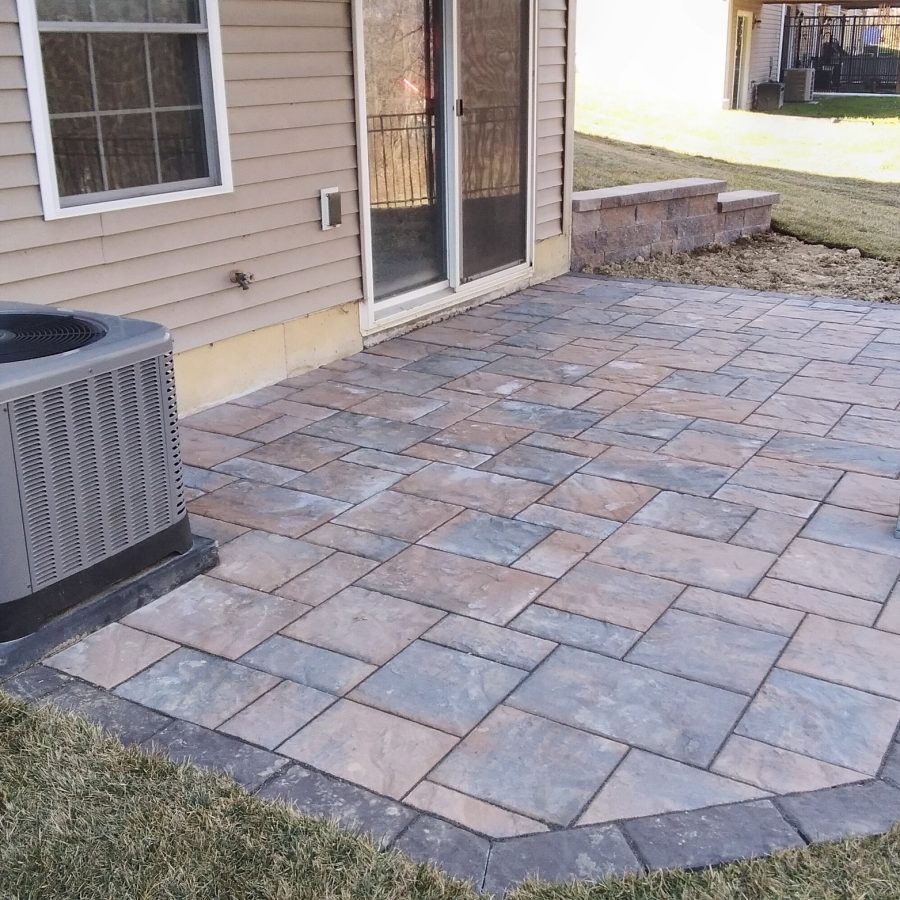
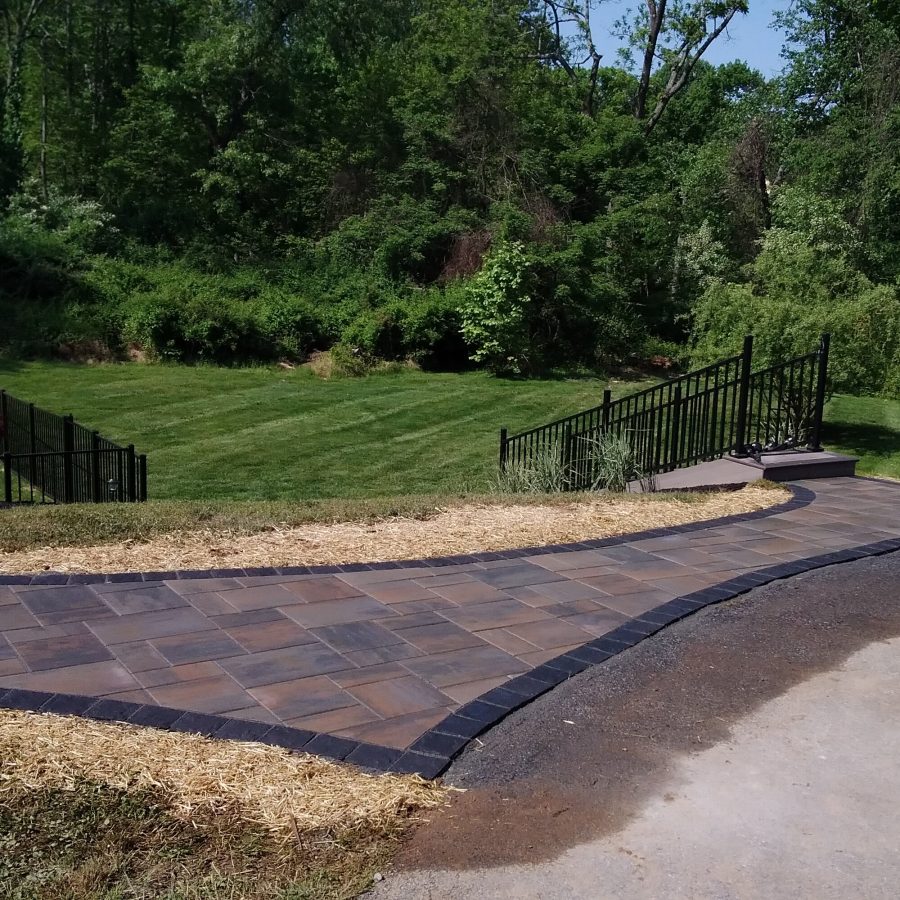
On a recent Chester County backyard replacement, the original concrete patio had three separate crack lines and a low spot that collected water against the foundation after every storm. The material itself wasn’t the problem. The base under it had never been properly compacted, and the grading sloped the wrong direction. The fix wasn’t a fancier surface. It was excavating down to a real base depth, correcting the slope so water moves away from the house, and then laying pavers on top of that corrected foundation. The homeowner got the paver look they wanted, but the reason it’s still flat and dry two winters later is the six inches nobody sees.
That’s the pattern on almost every replacement we do: the visible upgrade is what sells the project, but the invisible work underneath it is what makes it last.
Practical Steps: What to Do Before You Call a Contractor
1. Walk the entire patio and note every issue, not just the worst one. Cracks, uneven sections, loose pavers, wobbly steps or railings. Write down every location. A pattern across the whole patio, rather than one isolated spot, is your clearest signal that this is a base problem, not a surface one.
2. Check for standing water 30 minutes after a hard rain. Any pooling that hasn’t drained by then means the slope or base is compromised. This is one of the most reliable early-warning signs and the easiest one to check yourself.
3. Test railings and steps by hand. If a railing shifts when you push on it, or a step flexes underfoot, don’t wait on this one specifically. It’s a safety issue, not just a cosmetic one.
4. Get two to three quotes, and ask each contractor about their base depth and compaction process before you ask about material. A contractor who can’t answer this clearly, or who breezes past it to talk about paver colors, is telling you something.
5. Ask directly whether your project needs a permit. In much of Chester County, a patio at grade typically doesn’t require a permit, but anything involving retaining walls, electrical, or significant grading changes often does. A licensed local contractor should be able to tell you immediately, not after the quote.
6. Time your call for early spring or fall if you can. Summer is the busiest season for every hardscaping company in the region. Booking in the shoulder season generally means a shorter wait and more flexibility on start date.
7. Ask what happens to the old material. Demolition and disposal of the old patio should be spelled out in the quote, not treated as an add-on you discover on the final invoice.
Frequently Asked Questions
How do I know if my patio needs repair or full replacement? One isolated crack or stain is usually repairable. Two or more issues together, cracking, standing water, and loose or shifting pavers, almost always mean the base underneath has failed, which repair alone can’t fix. A full replacement is the more cost-effective long-term option at that point.
How much does patio replacement cost in Chester County, PA? Based on current 2026 industry cost data, paver patios typically run $12–$30 per square foot installed, and concrete runs $4–$22 per square foot. A standard 200-square-foot backyard patio generally falls between $1,500 and $7,000 depending on material and site conditions.
Why do patios in Pennsylvania fail faster than the national average? Chester County goes through repeated winter freeze-thaw cycles, where water trapped in the base or joints freezes, expands, and gradually breaks the surface apart. A properly built base resists this; a shallow or poorly compacted one won’t hold up nearly as long.
Can I replace a patio myself? Minor repairs like resealing a small crack are reasonably DIY-friendly. Full replacement involves excavation, grading, drainage correction, and base compaction. Work that’s difficult to get right without equipment and experience, and mistakes here are exactly what causes the next round of cracking.
Do I need a permit to replace my patio? Often not for a simple at-grade patio, but retaining walls, electrical additions, or major regrading frequently do require one depending on your township. A licensed local contractor should confirm this for your specific property before work starts.
Your Patio Doesn’t Have to Be the Thing You Apologize for Every Summer
You know the moment. A guest steps toward the grill, catches a loose paver, and you say “yeah, we’ve been meaning to fix that” for the fourth summer running. That’s not a design problem. That’s a base that gave out a while ago, and a surface that’s been quietly telling you so.
The good news is this is one of the more straightforward home projects to get right, as long as the work below the surface gets the same attention as the material on top. Pine Ridge Outdoor Living has been diagnosing and rebuilding patios across West Chester, Malvern, Chadds Ford, and the surrounding counties long enough to know that the crack you’re looking at is rarely the whole story, and that a patio built on a real foundation is one you stop apologizing for and start actually using.
Contact Pine Ridge Outdoor Living for a free on-site assessment, or call 484-500-4343 to talk through what’s going on with yours.